How to Install Artificial Culture Stone with Joints in Interior Wall?
Posted By Claire on August 16, 2013
1. Interior With Joints �
Stone Installation
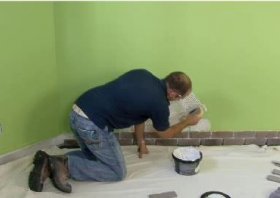
Following a S-Shaped movement, spread the adhesive on a 10 sq. ft. area at a time.
Lay the pieces onto the adhesive quickly and firmly. The entire surface of the piece must be covered with adhesive.
Make sure to leave a 3/8 inch gap between the pieces for good looking and uniform joints.
Before applying the mortar, let dry, as recommended in the adhesive instructions.
Mortar Installation
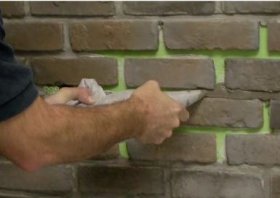
To install the mortar, fill up the grout bag and fill in the joints with the mortar by applying more or less pressure on the grout bag depending on your preference to obtain a flat or a dripping finishing look for the joints. Remove the excess of mortar immediately by using a hair brush.
* Do not use a metallic or damp brush or any acid based product.
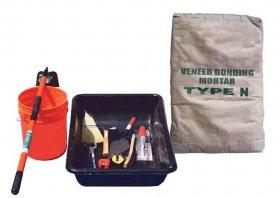
Required Material
• Mason’s trowel
• Modified polymer glue
• Ceramic cutter or steel saw with round carbide blade
• Type N Mortar
• Grout bag
• Spatula
Preparation
Before you start your installation project, determine the quantity of pieces and corners needed using the project calculator on the product pages or using the surface coverage written on the boxes.
On an unpainted wall, first apply a coat of primer.
On a painted wall, sand lightly.
Before you begin, make sure the wall is clean.
Installation Process
Begin your installation with the corner pieces, if your installation requires them. For a better look, stagger all corners to achieve length variations.
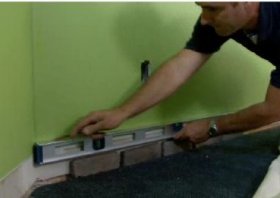
Trace a reference line in order to follow this guide during your installation.
First, place your pieces on the ground in order to build a pattern of your choice, then start fixing the pieces to the wall from the edges toward the center and from the bottom up.


Comments
Leave a Reply